Zimpola & Director
The professional guide — Chatbox & Studio
A practical production handbook for professional images, backgrounds and vertical videos. Follow the complete route from a first idea to a consistent cast, planned shots and a downloadable final result.
This guide is written in English. Change the site language to read it in your own language.
01
Where to start
- The chatbox on the home page is the fastest way to make a single image, a background or a short video.
- The Studio is the full production tool: series, episodes, fixed cast, shot by shot frames and finished videos.
- Rule of thumb: one picture or one clip — use the chatbox. A story with the same characters in every shot — use the Studio.
- You need to be signed in. Generating costs credits; talking to Director costs nothing.
02
Talk to Director first
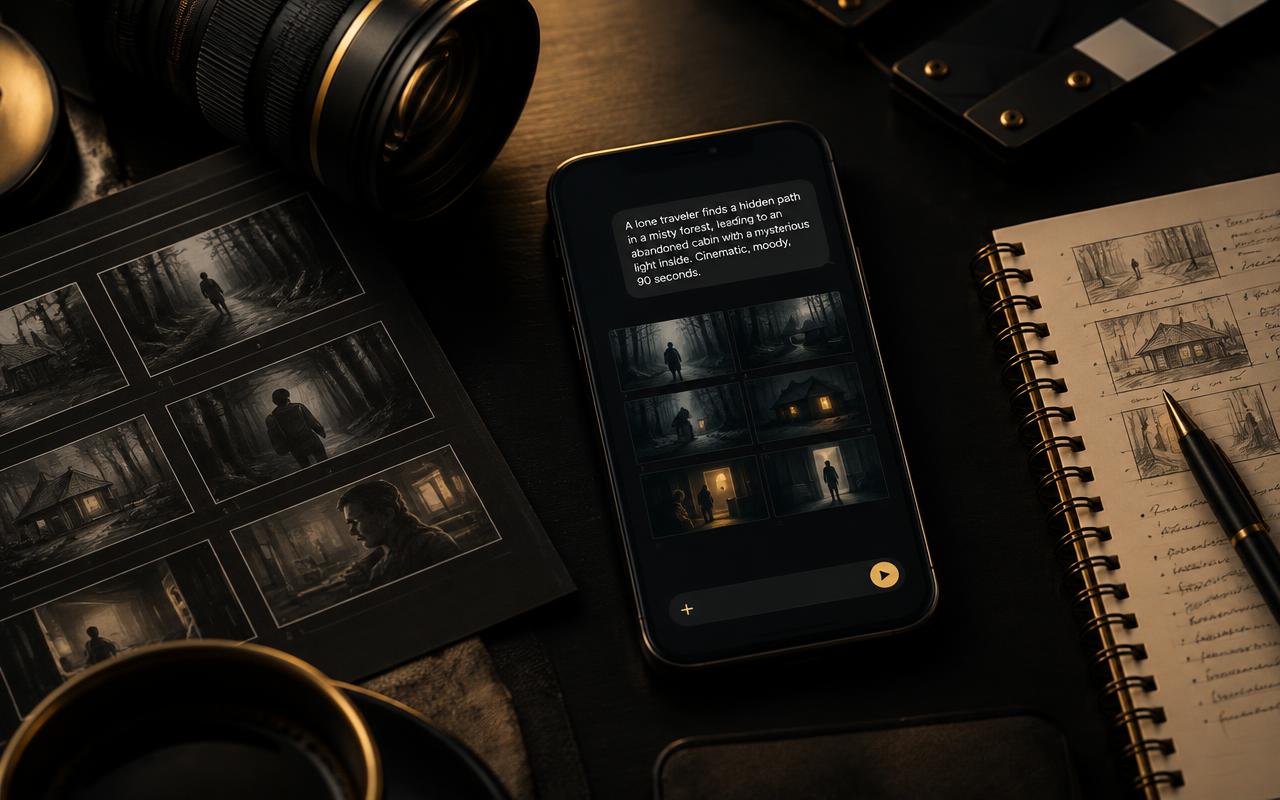
- Director answers in your language and asks a few short questions: subject, style, mood, cast, camera angle, camera movement and length.
- Answer the questions in short sentences. The more concrete you are, the better the result.
- When Director has enough information it writes one finished English description. Press 'Use this description' to place it in the input field.
- You can always edit that description yourself before you generate.
- New chat flow: Director now guides you step by step — type (image, video, background), number of images, background, generator and length — and shows a price overview before anything is made. Nothing is charged until you confirm.
- Ask Director to create your own cast or avatar (for example 'a cartoon rabbit') or a background right in the chat; save it and reuse it later in the Studio.
- Press 'Clear chat' to start with an empty conversation. Download buttons save the file directly to your device.
- Every new free account gets 60 starter credits — enough for about one video or a few images to try it out. After that you can buy credits; no trial is needed to use the chatbox.
- Professional workflow: idea → Director's questions → finished English generation prompt → choose generator → check the result → download.
03
How to write a strong description
- Name the subject first: who or what is in the picture.
- Then the action: what is happening at this exact moment.
- Then the place and the light: indoors or outdoors, day or night, warm or cold light.
- Then the camera: close-up, medium shot, wide shot, low angle, over the shoulder — and for video also the movement (static, slow push in, pan left, follow shot).
- Finally the style: photo-realistic, cinematic, cartoon, anime, 3D render, poster.
- Avoid vague words like 'nice' or 'cool'. Describe what a camera would actually see.
- Weak: 'A woman in a city.' Strong: 'Medium shot of a woman in a red raincoat waiting under a streetlight at night, wet pavement reflections, slow push-in, cinematic realism.'
- For edits, separate what must stay from what may change: 'Keep the face, pose and clothing unchanged; replace only the background.'
05
Working with your own photo
- Press 'Use your own photo' to upload an image (maximum 4 MB).
- With a photo attached, your description becomes an edit instruction: say what must change and what must stay the same.
- Example: 'Keep the person and the pose exactly the same, change the background to a rainy night street.'
- For video with a photo, describe the movement you want, not the picture itself.
- Do not upload a compressed screenshot when you still have the original photo; a clean, sharp source preserves faces and details better.
06
Choosing quality and provider
- Each generator has its own character: some are faster, some give more detail.
- Start with the standard choice. Only switch when you are not happy with the look.
- For a series, keep one generator for all shots — mixing generators makes the style jump.
- Generate the same description twice if you want a choice; every attempt is a new result.
- Compare providers with the same prompt and reference image. Change only one variable at a time so you can judge the difference fairly.
07
Moving to the Studio
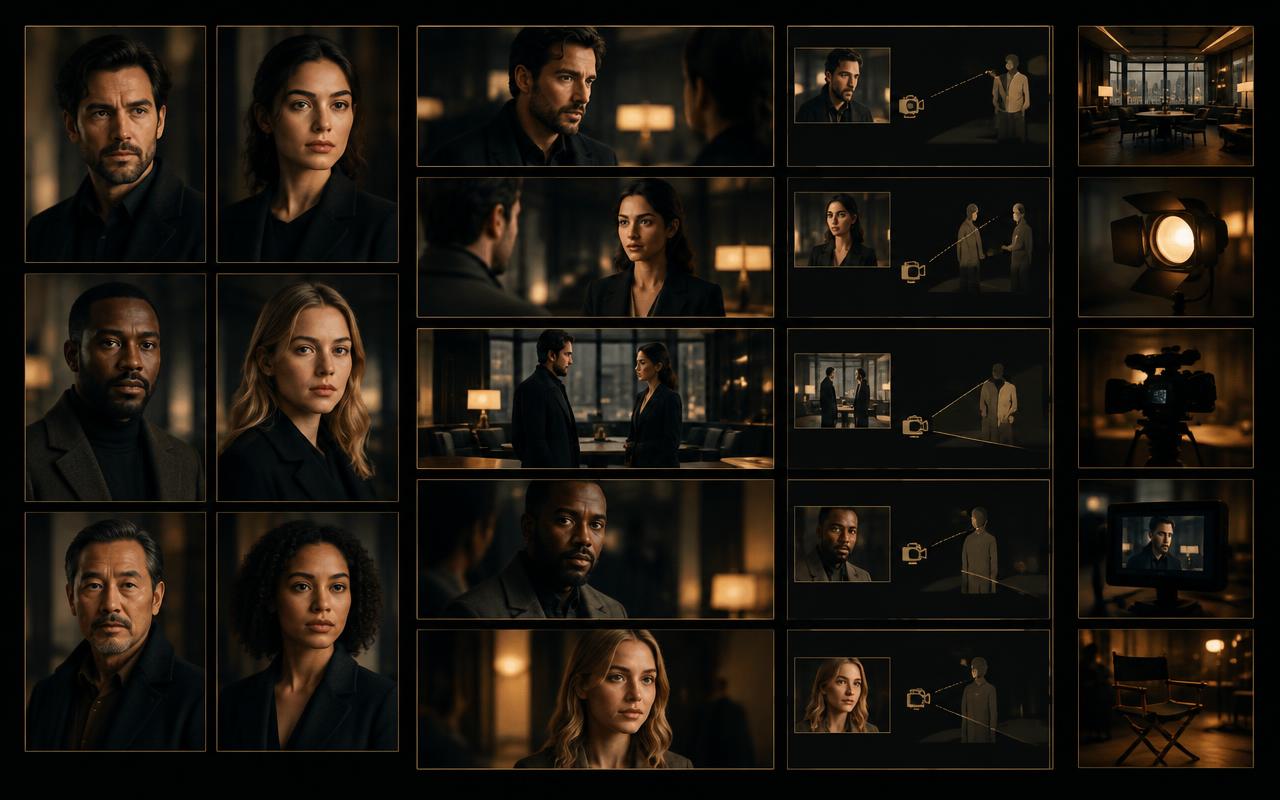
- In the Studio you first create your cast: every character gets a fixed photo so the face stays the same in every shot.
- Then you build a story and split it into shots. Every shot has its own background, its own selected cast and its own camera instructions.
- Poses (front, back, left, right, kneeling) are generated from the fixed cast photo, so it is always the same person.
- You can add a character into an existing image without replacing the people who are already in it — describe the exact position and pose.
- Backgrounds can be generated per shot, chosen from earlier work, or uploaded yourself.
- For every shot, explicitly select who is already in frame, who enters, who speaks, and in which order the dialogue happens.
- Camera angle and camera movement are required production choices, not optional decoration.
08
Long videos in the chat
- Want a video longer than 15 seconds? Just tell Director in the chat — for example: 'a 60 second video of a girl waking up, making coffee and watching the sunrise'.
- Director asks for the story from start to end and the total length: 15, 30, 45, 60, 90 or 120 seconds.
- You see the price before anything starts. Optionally add your own start photo, cast or background in the slots.
- Director splits the story into clips of up to 15 seconds. Every clip starts exactly where the previous one ends, so it flows as one continuous video.
- When all clips are ready, press 'Join into one video'. You can download it or share it in the Hall of Creators.
- Credits are charged per clip and per image only when a real file exists. A failed clip costs nothing.
- Tip: try 15 or 30 seconds first.
09
Keeping a series consistent
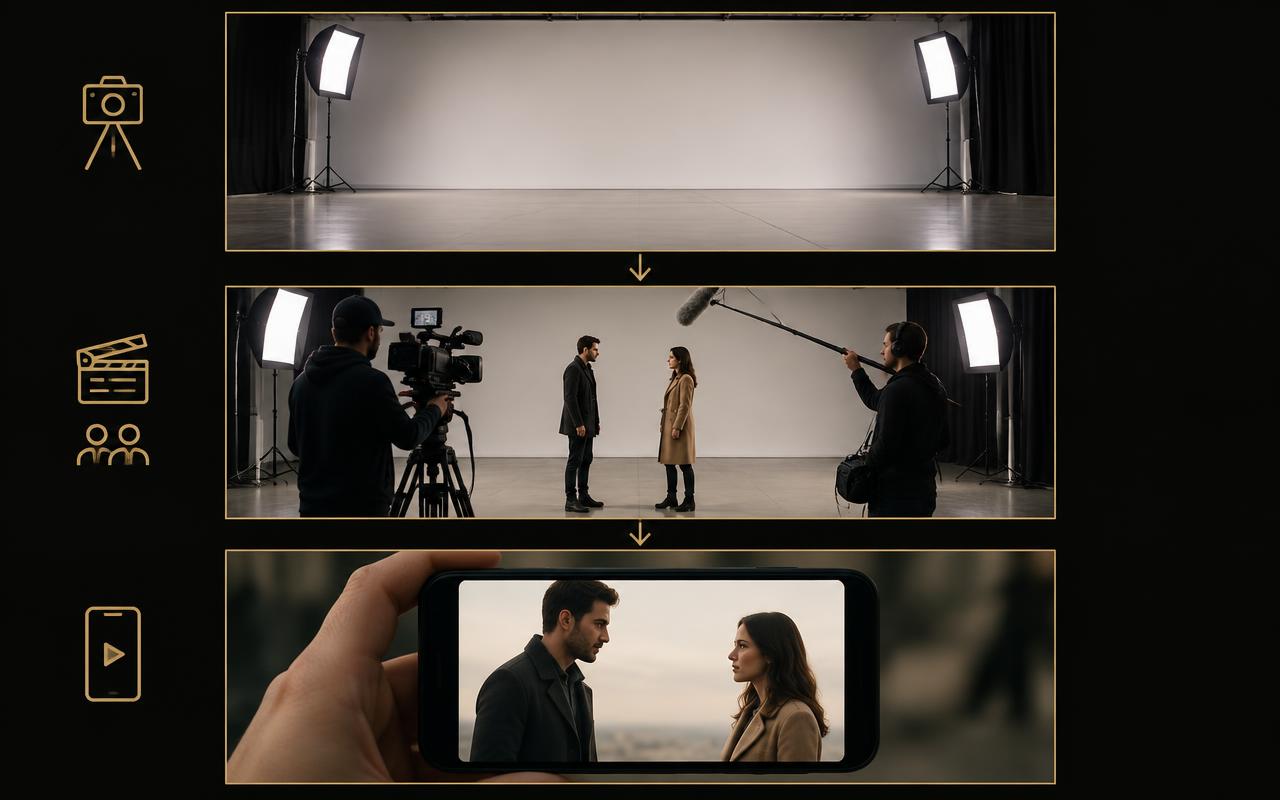
- Lock the wardrobe: describe the clothing once and repeat that description in every shot.
- Write the camera angle and camera movement for every shot — never leave them empty.
- Keep the light and the time of day consistent inside one scene.
- Finished frames stay saved as variants, so trying something new never destroys your earlier work.
- Build rear, left, right and kneeling pose references from the fixed cast photo. Front and custom references can reuse the original without a new charge.
- Never ask an edit to recreate everyone. Add only the selected actor and explicitly preserve all people already visible.
10
Credits and safety
- Talking to Director, writing stories and asking for shot ideas costs 0 credits.
- Only real, saved images and videos cost credits.
- No video or image means no charge — failures, timeouts and empty results are always free.
- Videos can be downloaded, but never shared through a direct external link.
- You can request a free trial period with credits if you do not have Director access yet; every request is checked by hand.
- A successful fallback is charged once at the original agreed price. Failed attempts, timeouts and empty fallback results cost nothing.
11
When something goes wrong
- Read the error panel on screen — it stays visible and can be copied.
- 'Photo too large' means your upload is over 4 MB; save it smaller and try again.
- An empty or strange result usually means the description was too short. Add subject, place, light and camera.
- If a generator is busy, try again in a few minutes or pick another generator.
- Still stuck? Contact support through Discord or Telegram from the home page or profile page.
12
Professional pre-generation checklist
- Subject and exact action are clear.
- Location, time of day, weather and light are defined.
- Every visible cast member is selected and uses the correct fixed reference and wardrobe.
- Shot size, camera angle and camera movement are written down.
- For edits, preserved elements and requested changes are separated clearly.
- Video duration and generator are checked before you start.
- After generation, inspect identity, hands, clothing, continuity and framing before moving to the next shot.